When you attend a conference, seminar, or any other event where networking is key, you may have noticed small tent-like cards placed on tables with names printed on them. These are known as name tents, and they serve a crucial purpose by helping attendees identify one another quickly and easily.
Name tents are not only practical but also add a professional touch to any event. In this article, we will delve into the world of name tents, exploring what they are, why they are essential, what to include on them, how to make them, and tips for ensuring their success.
What are Name Tents?
Name tents are small cards folded into a tent-like shape that display a person’s name. They are commonly used at events to help attendees quickly identify one another and facilitate networking.
Name tents are versatile and can be customized with additional information such as job titles, company names, or table numbers.
Why are Name Tents Essential?
Name tents play a crucial role in breaking the ice and initiating conversations at events. By clearly displaying a person’s name, name tents eliminate the awkwardness of forgetting someone’s name, making interactions smoother and more meaningful.
Additionally, name tents help event organizers keep track of attendees and seating arrangements.
What to Include on Name Tents
When creating name tents for an event, it is essential to include the following information:
- Name. The most important piece of information on a name tent is, of course, the attendee’s name. Make sure it is prominently displayed and easy to read.
- Job Title. If the event is professional or business-related, including the attendee’s job title can provide valuable context for networking.
- Company Name. For corporate events, displaying the company name helps in identifying colleagues and clients.
- Table Number. If the event has assigned seating, including the table number on the name tent can help attendees find their seats quickly.
- Contact Information. Optionally, you can include contact information such as email or LinkedIn profile for further networking opportunities.
- Logo or Design. Adding a logo or design element to the name tent can enhance branding and make it more visually appealing.
How to Make Name Tents
Making name tents is a straightforward process that can be done using common office supplies. Here’s a simple step-by-step guide:
- Materials Needed. Gather cardstock or thick paper, scissors, and a printer.
- Design Template. Create a design template on your computer with the necessary information and any logos or designs.
- Print and Cut. Print the design template on the cardstock and cut out each name tent along the designated lines.
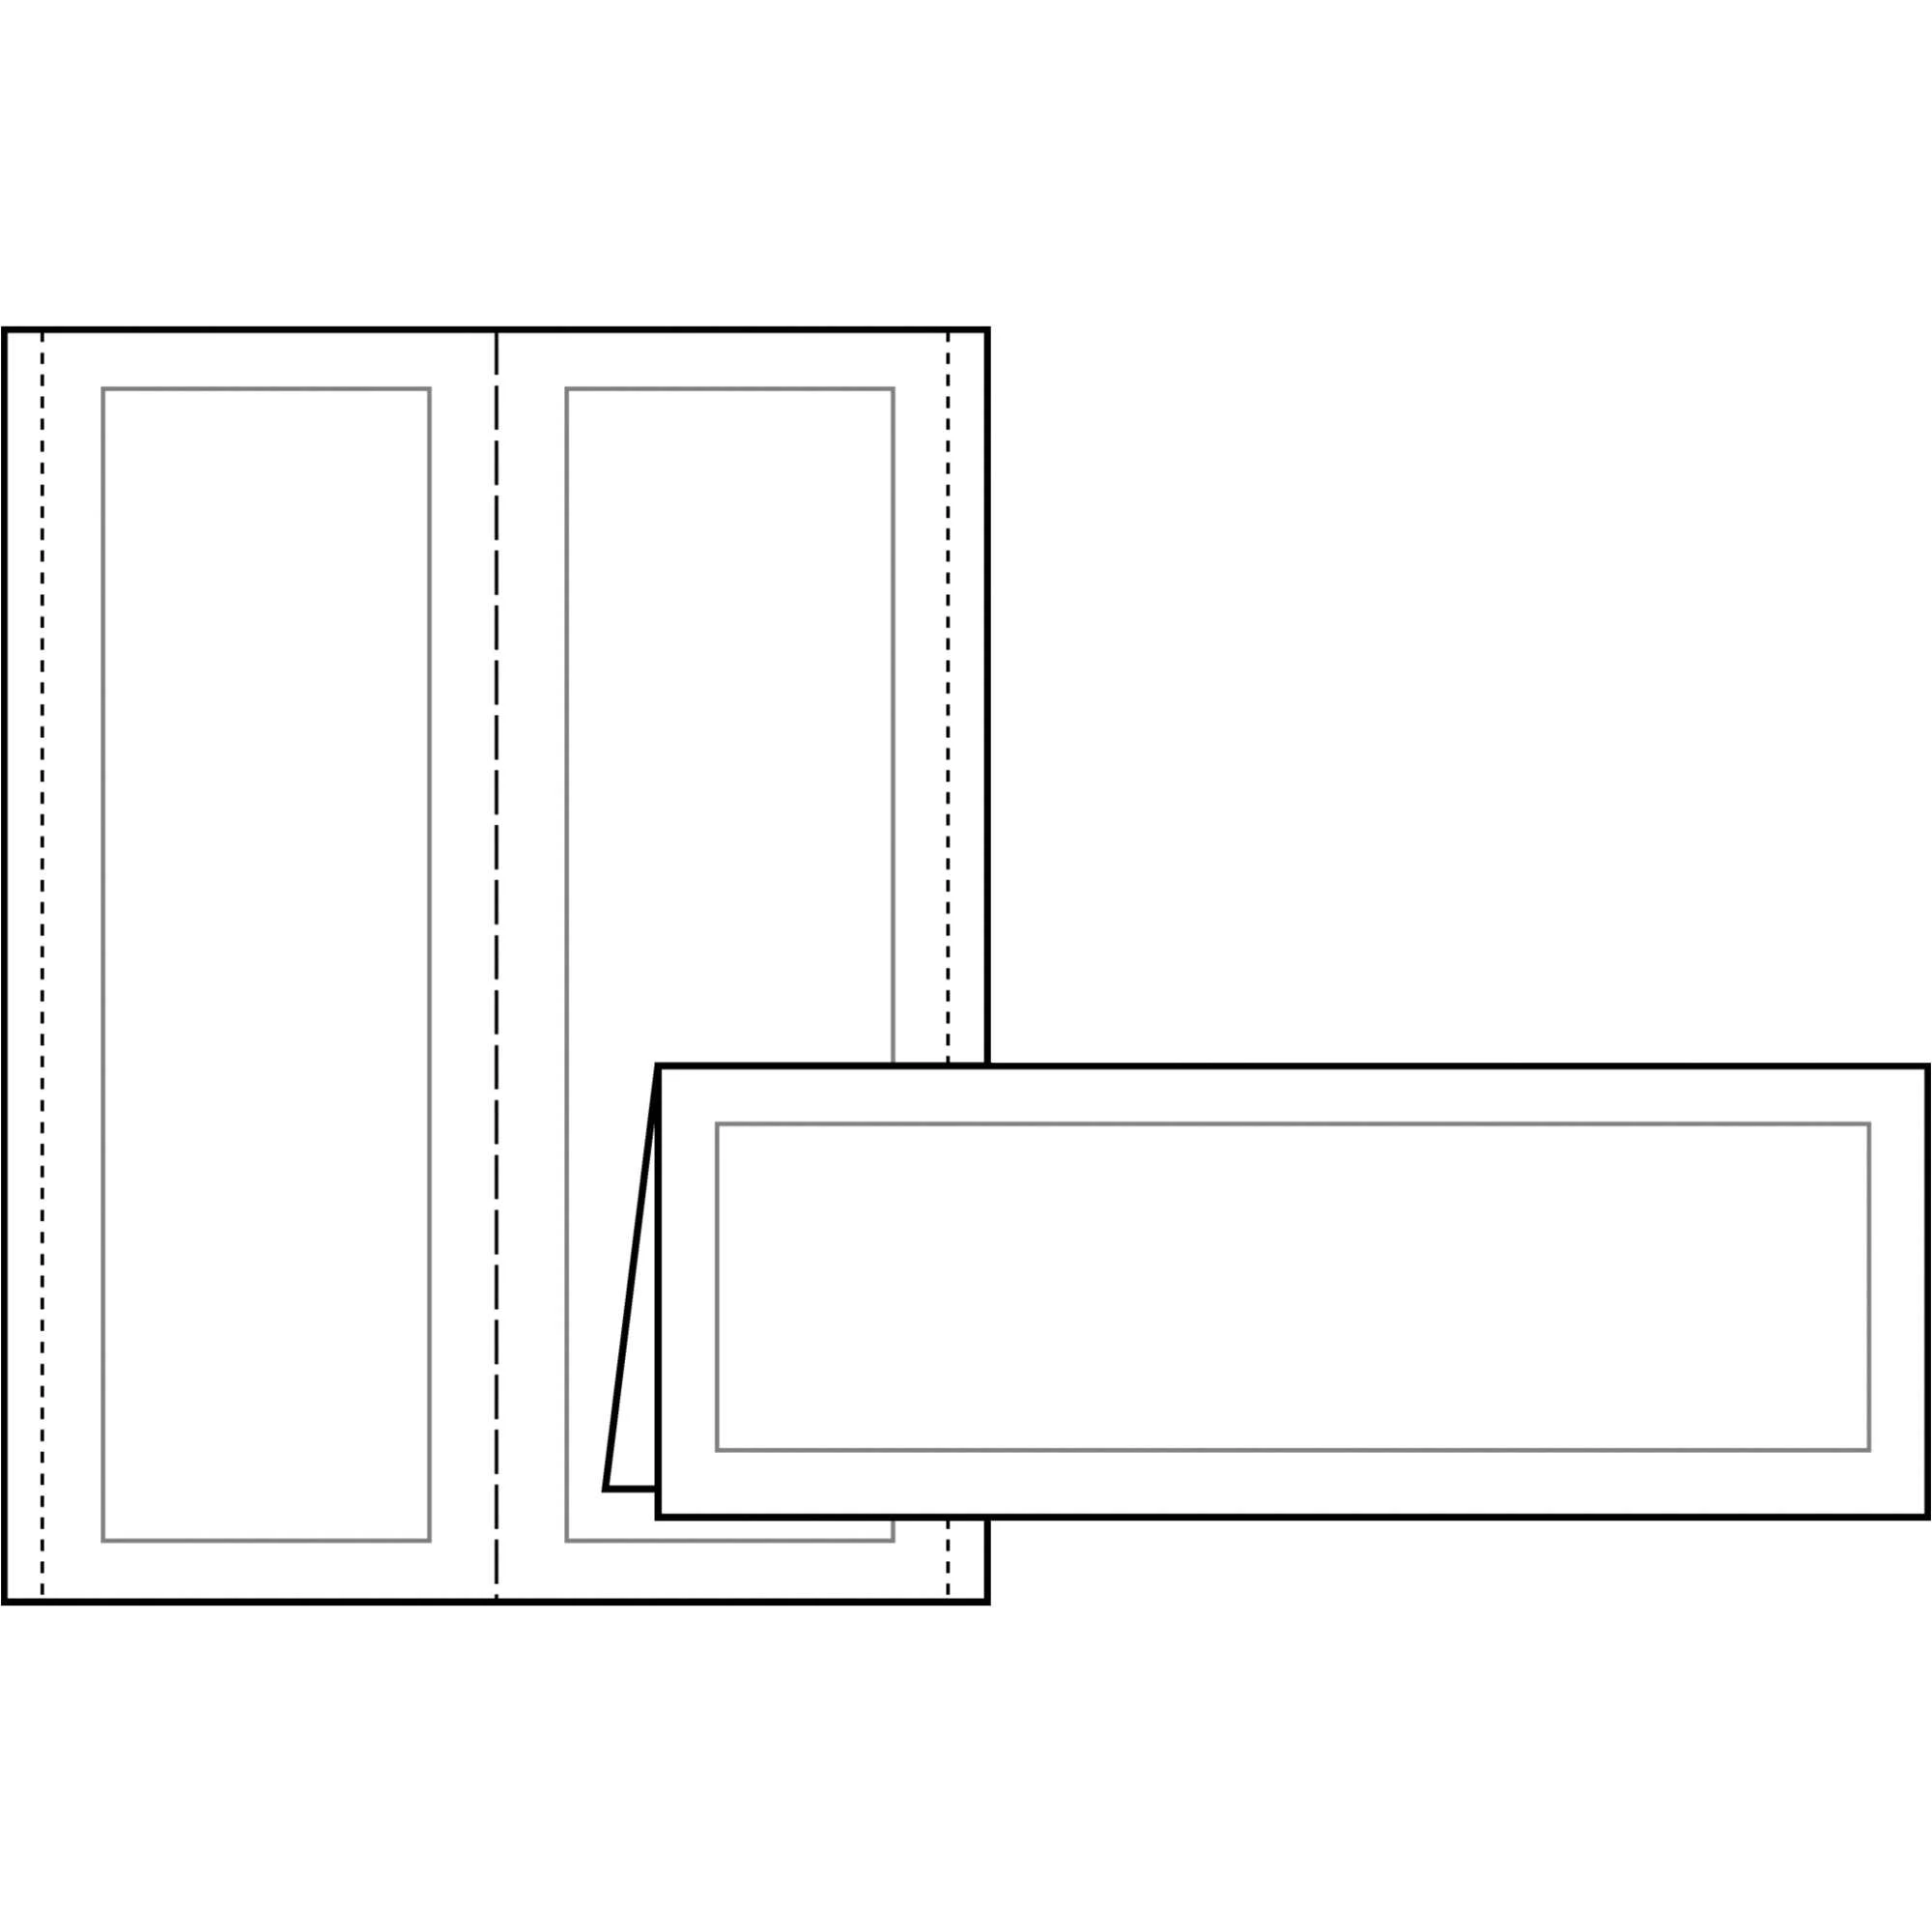
- Fold. Fold each name tent in half along the center line to create the tent-like shape.
- Display. Place the name tents on tables or designated areas at the event for easy access.
Tips for Successful Name Tents
To ensure that your name tents are effective and well-received at events, consider the following tips:
- Use Legible Fonts. Choose clear and easy-to-read fonts for the name and other information on the tent.
- Ensure Consistency. Maintain a consistent design and layout for all name tents to create a unified look.
- Include Pronouns. To promote inclusivity, consider adding pronouns (e.g., he/him, she/her, they/them) on the name tents.
- Update Information. Double-check all information for accuracy and make any necessary updates before printing the name tents.
- Provide Extras. Have a few extra name tents on hand in case of last-minute additions or replacements.
- Encourage Interaction. Use icebreaker questions or prompts on the name tents to encourage attendees to engage with each other.
Name Tent Template – Word

- Performance Improvement Plan Template - July 30, 2026
- Free Printable Rent Receipt Template - July 30, 2026
- Reference Letter Template for an Employee - July 30, 2026
